
Over the next several weeks I’ll be taking you through the timber framing process from start to finish, the way that Vermont Timber Works does it. These blogs should help give an idea of what goes into the design, materials, engineering, fabrication, and erection. I’m starting the series with St. Andrew’s Lutheran Church in Ridgefield, CT. We completed this job in April, 2013, but the project started long before then, this is how the church came to fruition:
1.) Designing and altering existing design to meet the clients needs:
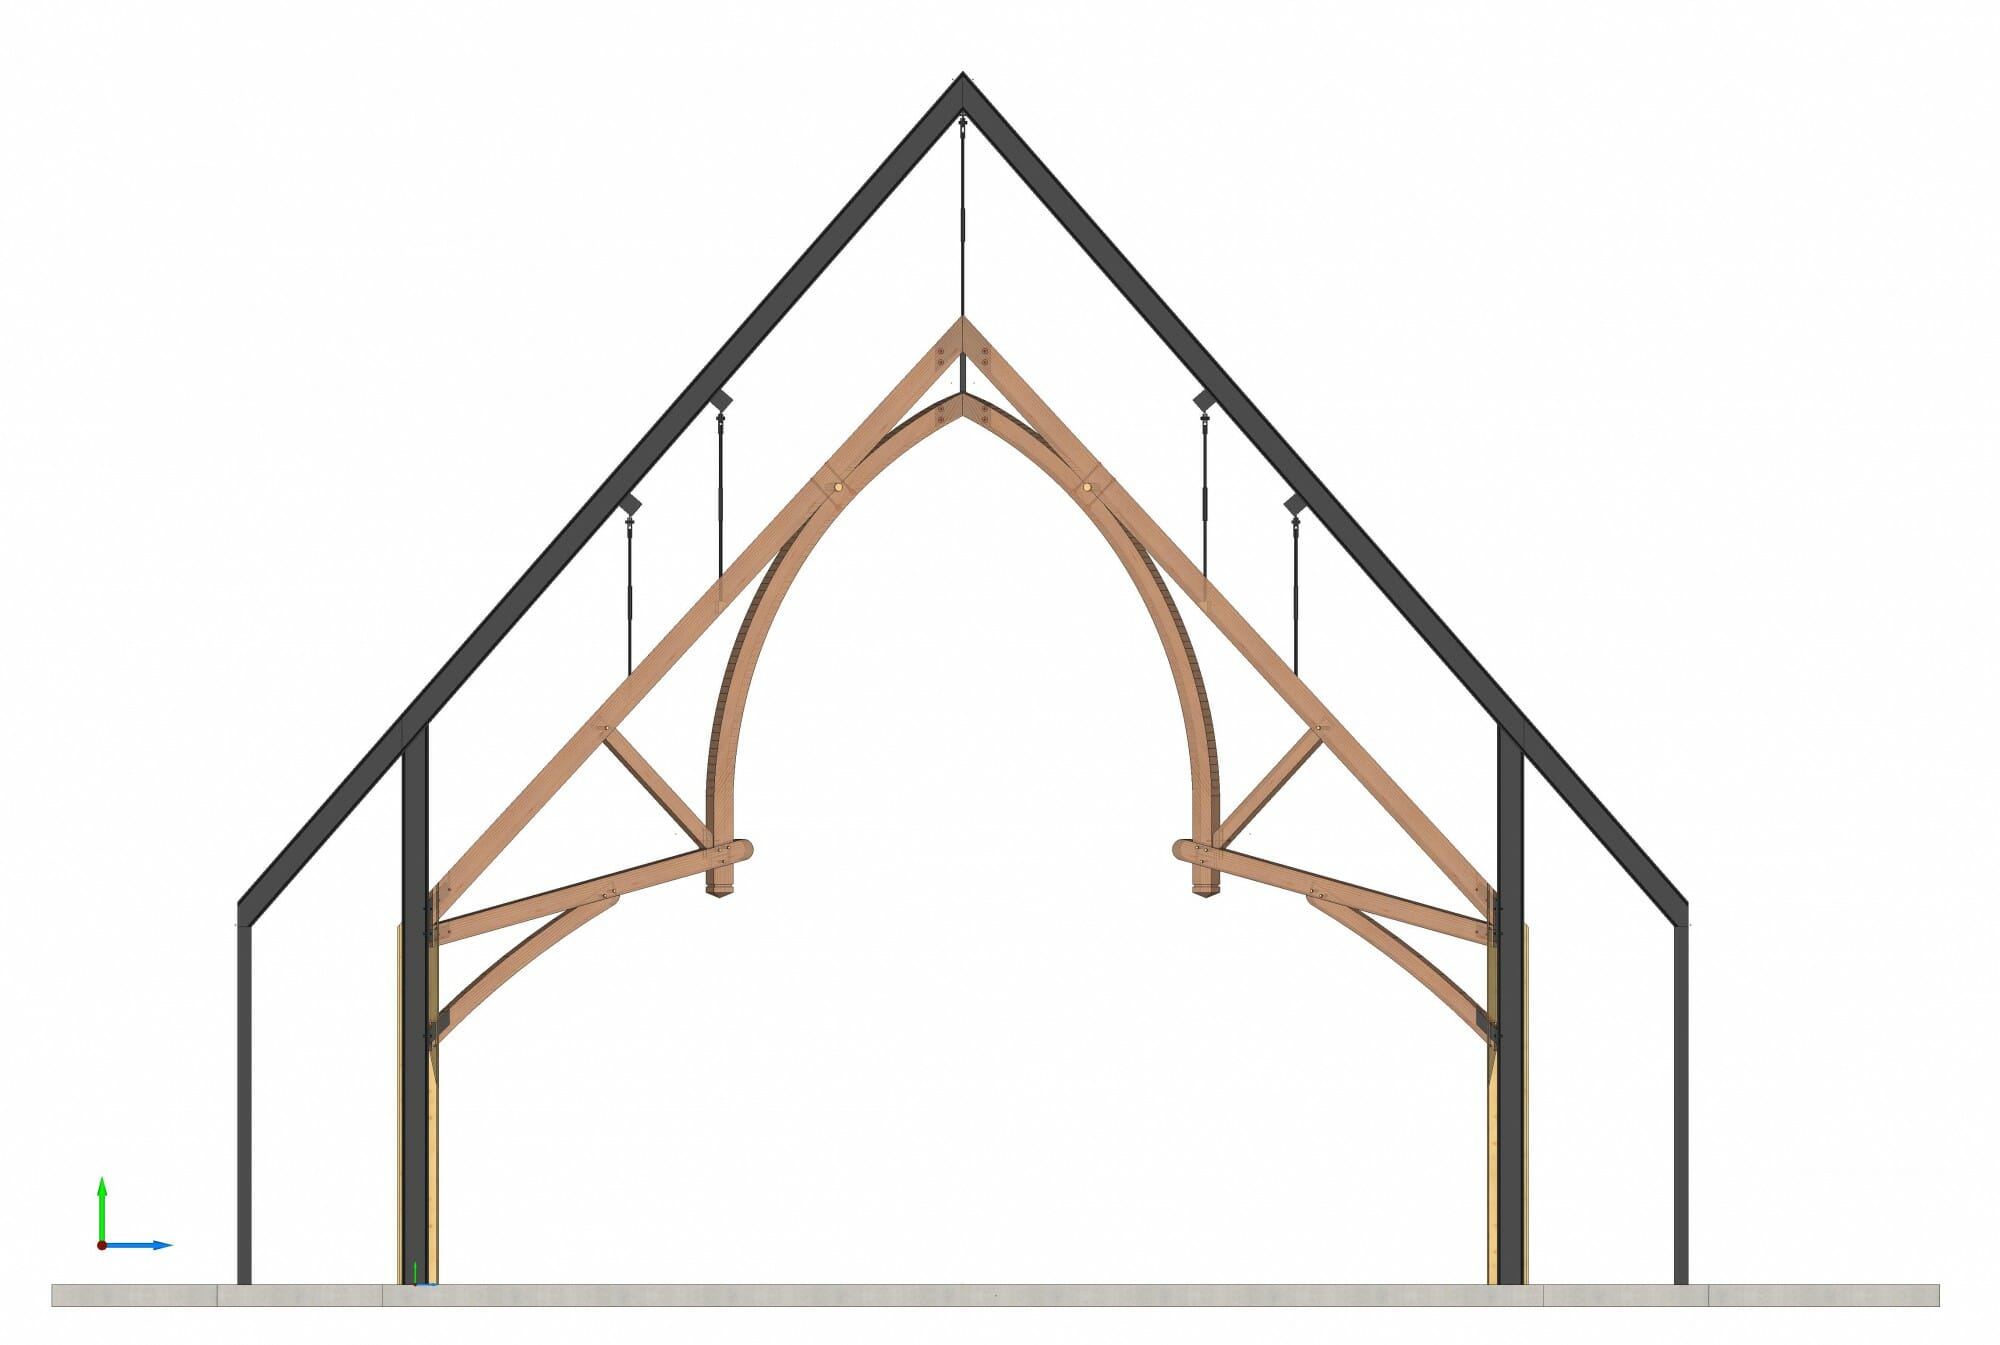
A lot of the time when we are approached by a client or a contractor, there is already a design or drawings in place. We take those drawings, make sure that the building will stand the way that it’s drawn, and then submit a sketch or 3D model (like the one seen below) to the client to make sure we are on the right track.
 2.) Concept is approved, and Shop Drawings begin:
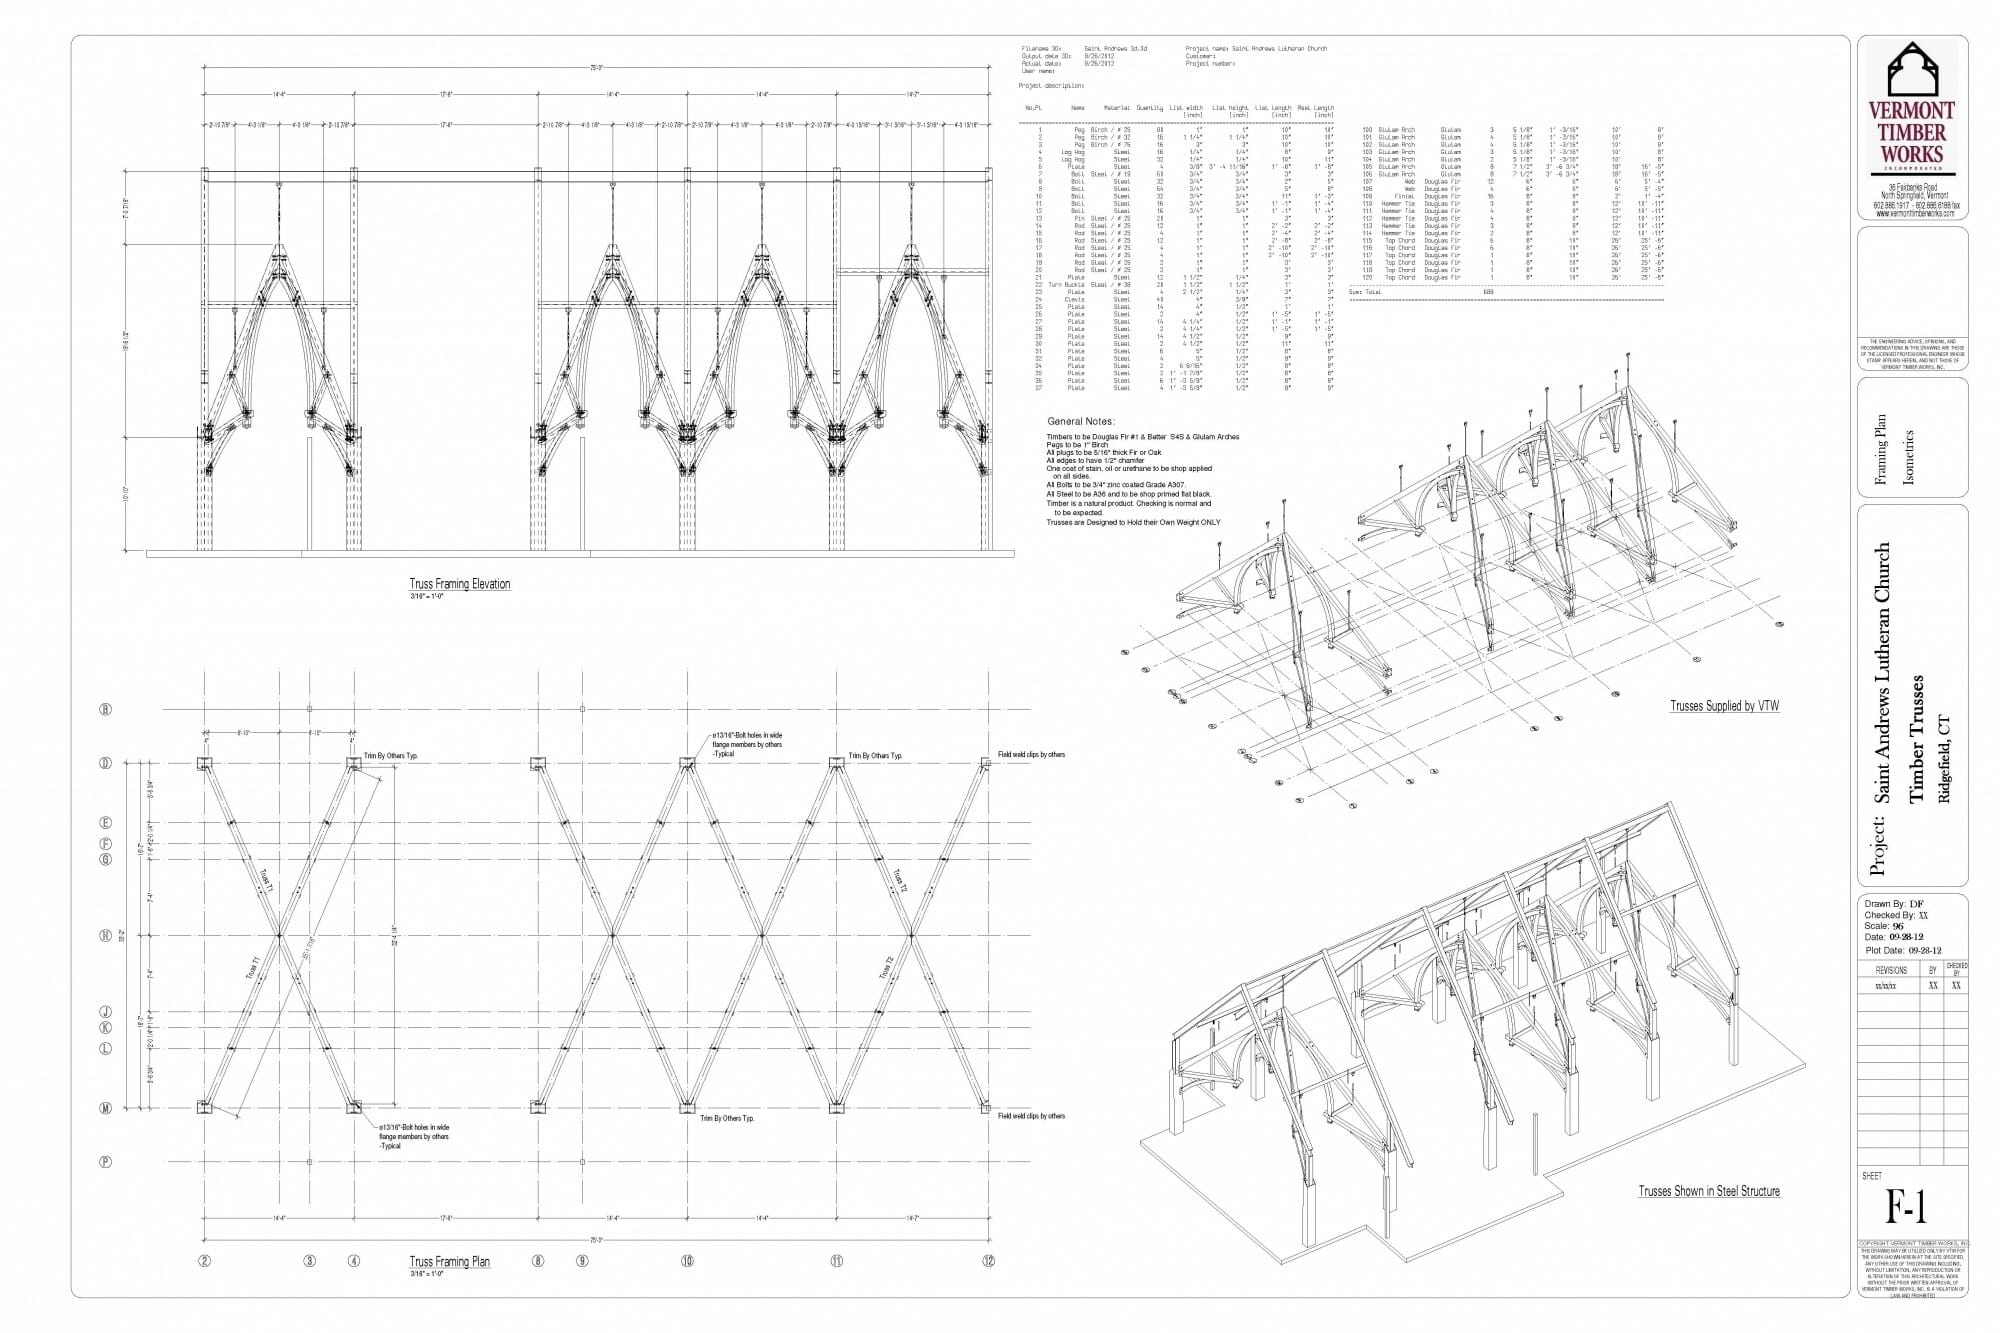
After the client has seen the design, approved it and signed a terms sheet, we start the Shop Drawings. This is the point in the project when a lot of the engineering is run on the structure, taking into account location, snow and wind loads, and other various exponents. Shop Drawings are then submitted to the client for approval, and after any alterations, the Drawings are finalized and look something like what you see below.
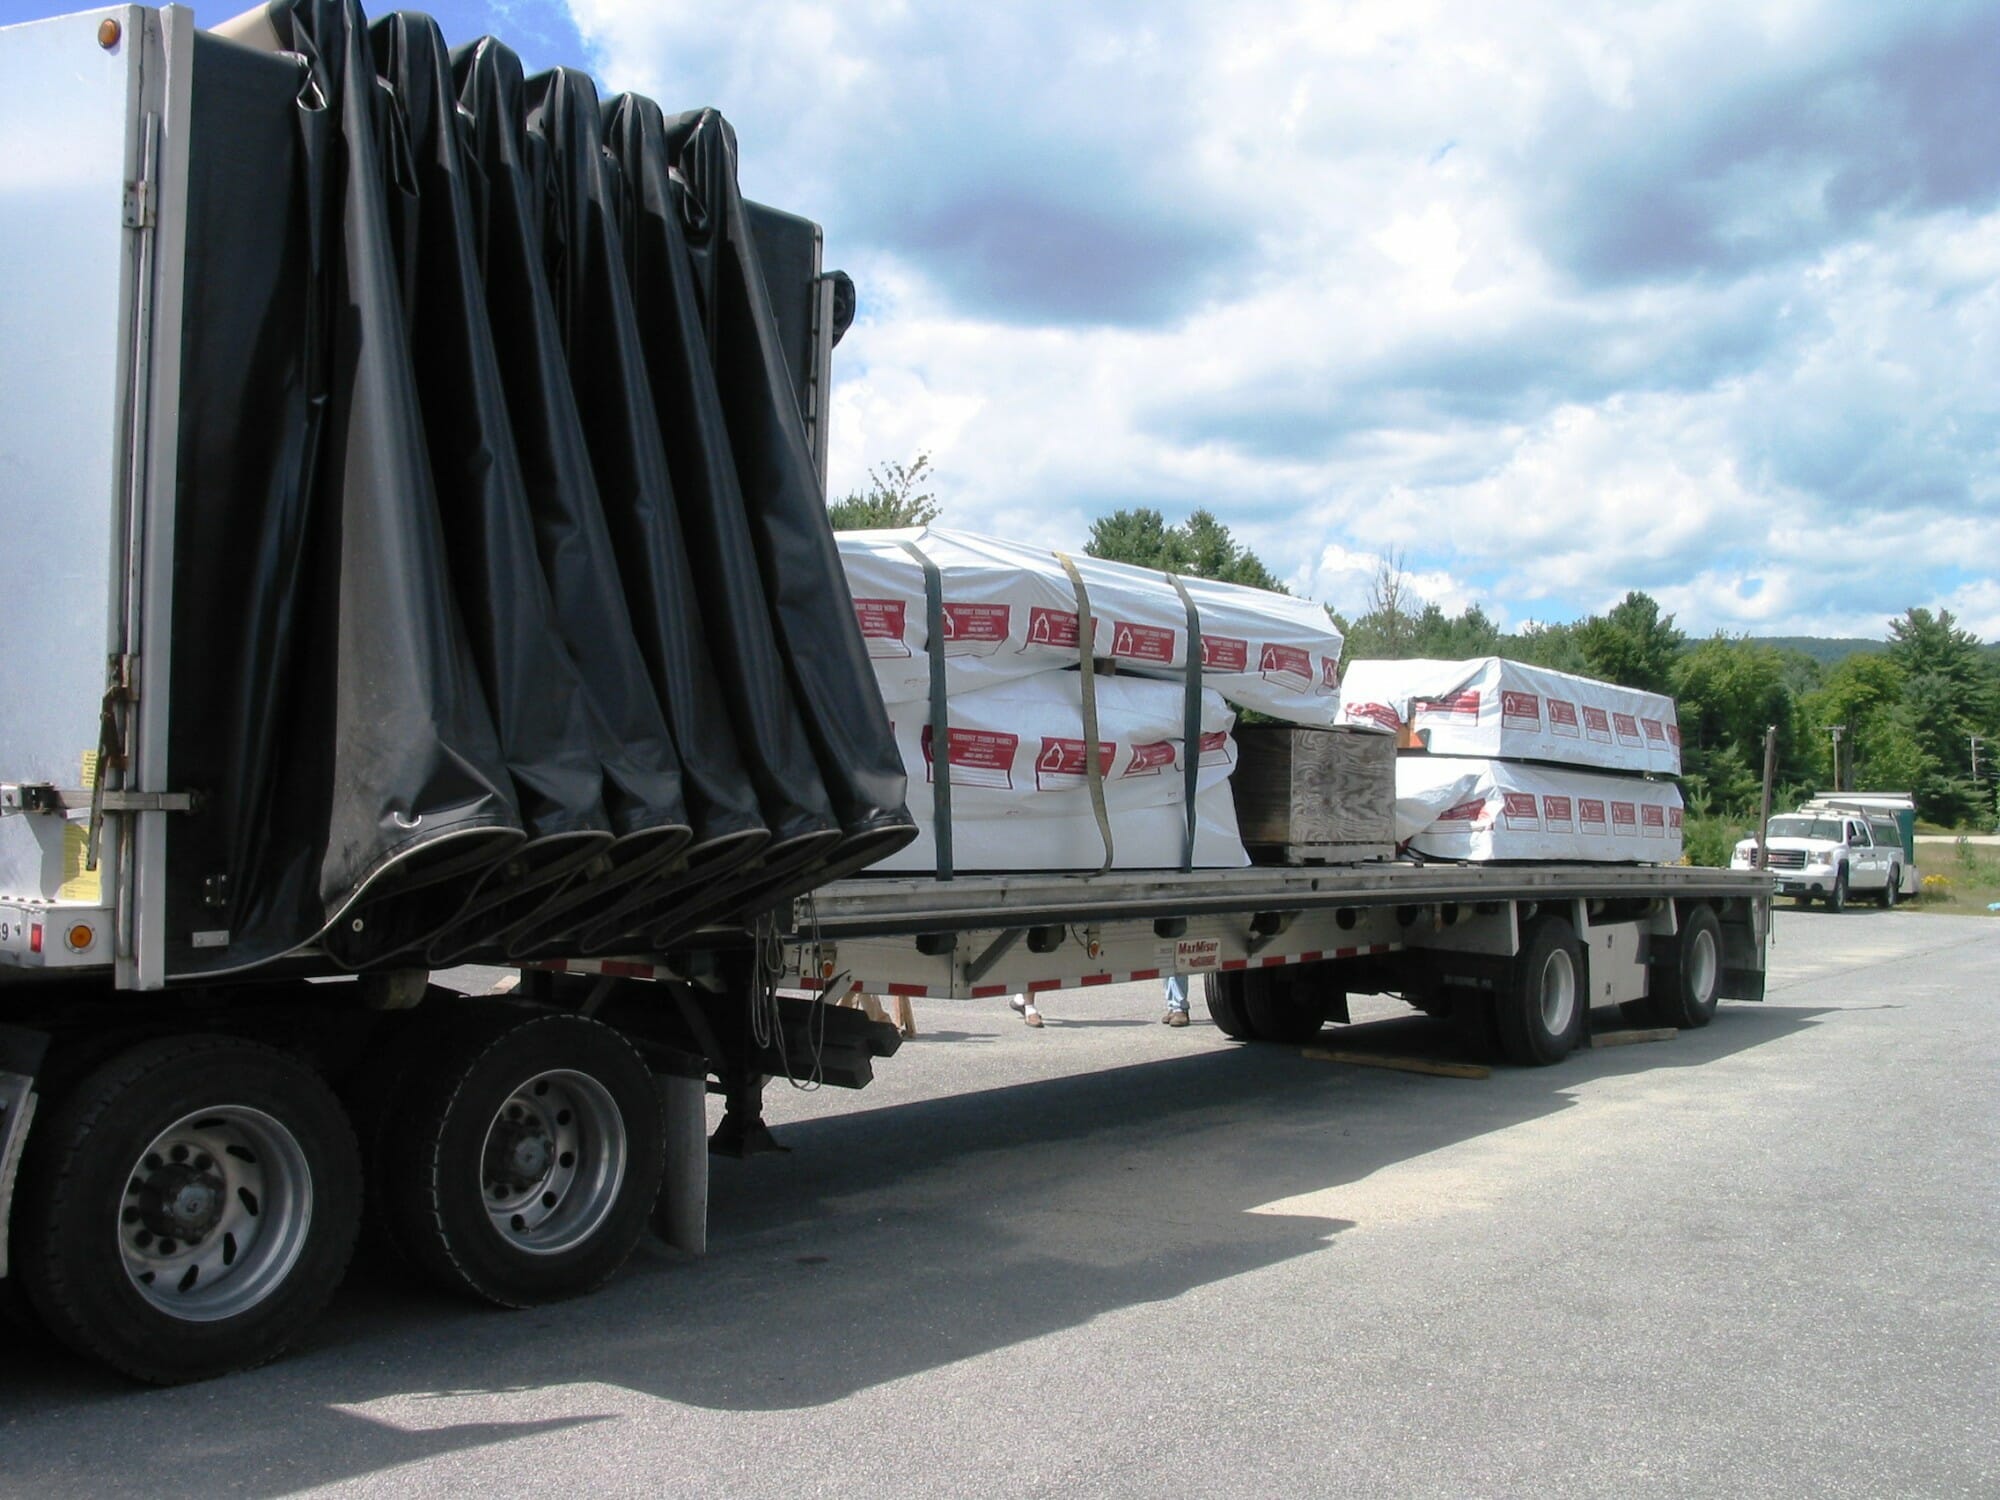
3.) Materials are ordered and fabrication begins upon arrival:
Depending on how the materials are specified for the project, it can take anywhere from 4-8 weeks for the timbers to be milled by our suppliers, shipped and arrive to our 10,000 sq ft facility in North Springfield, VT.
4.) Layout Begins:
One of our owners, Dan, who has been laying out timber frames for 28 years, will take the shop drawings and translate them to the timber.

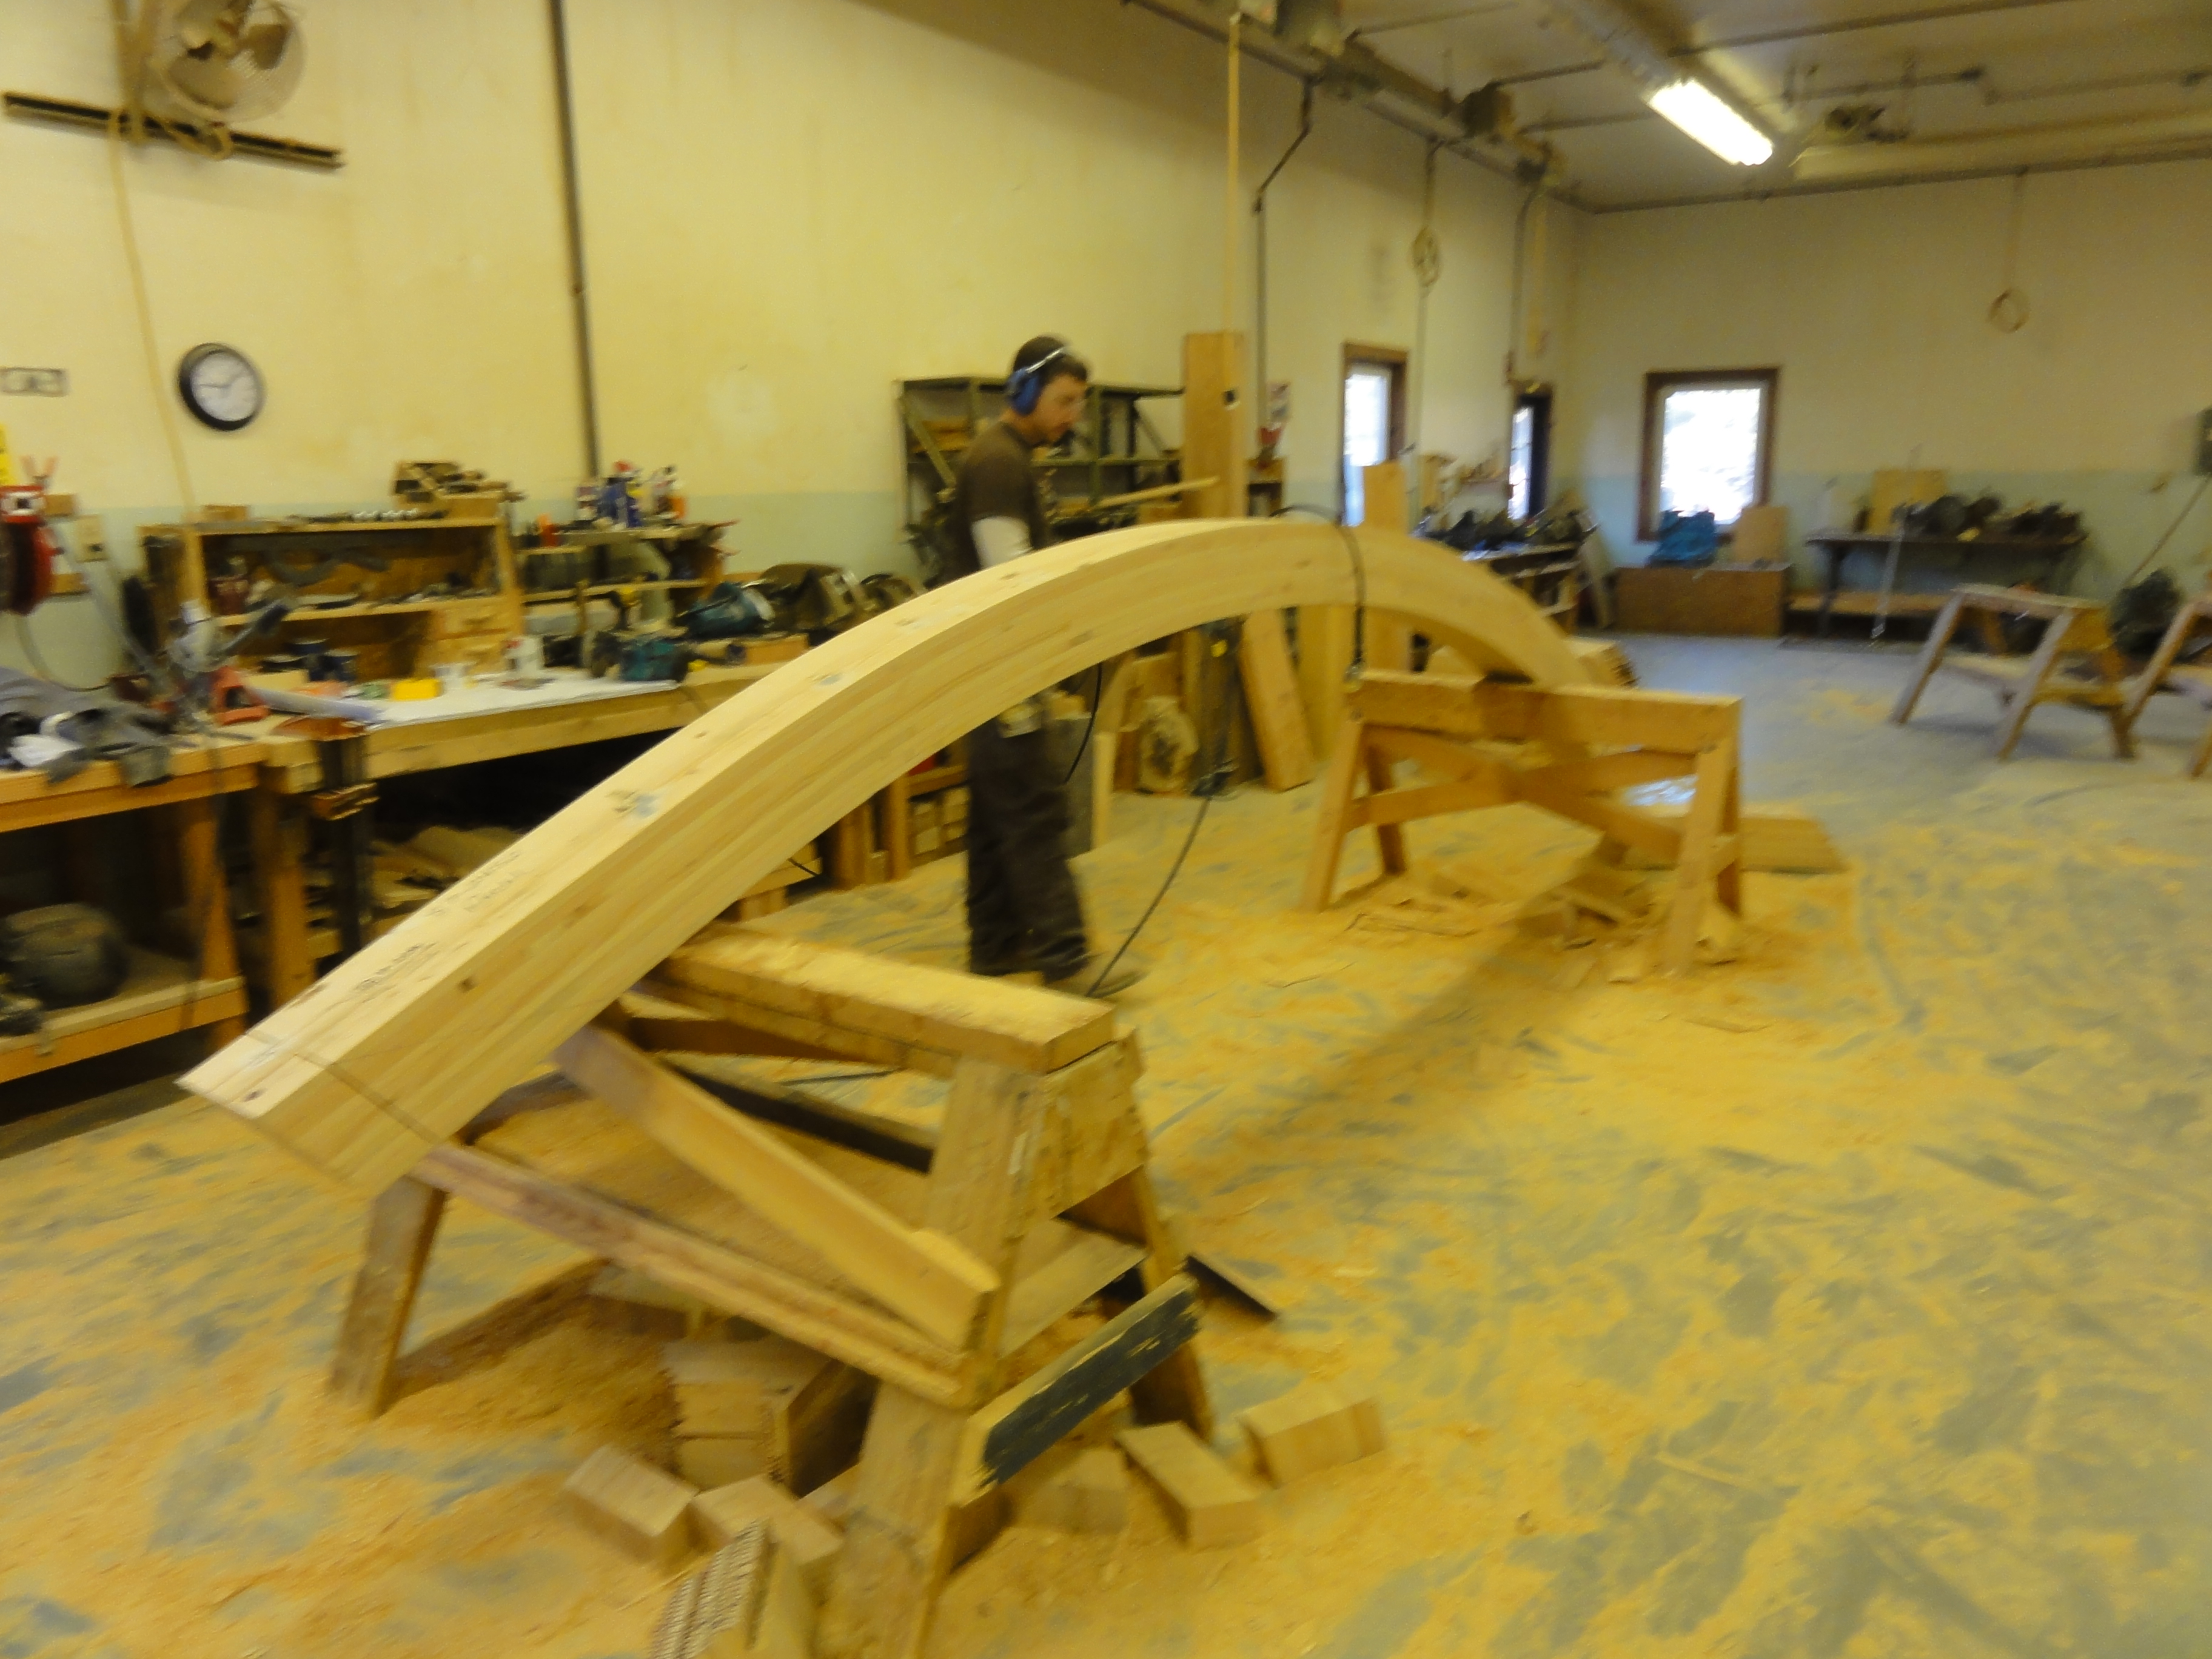
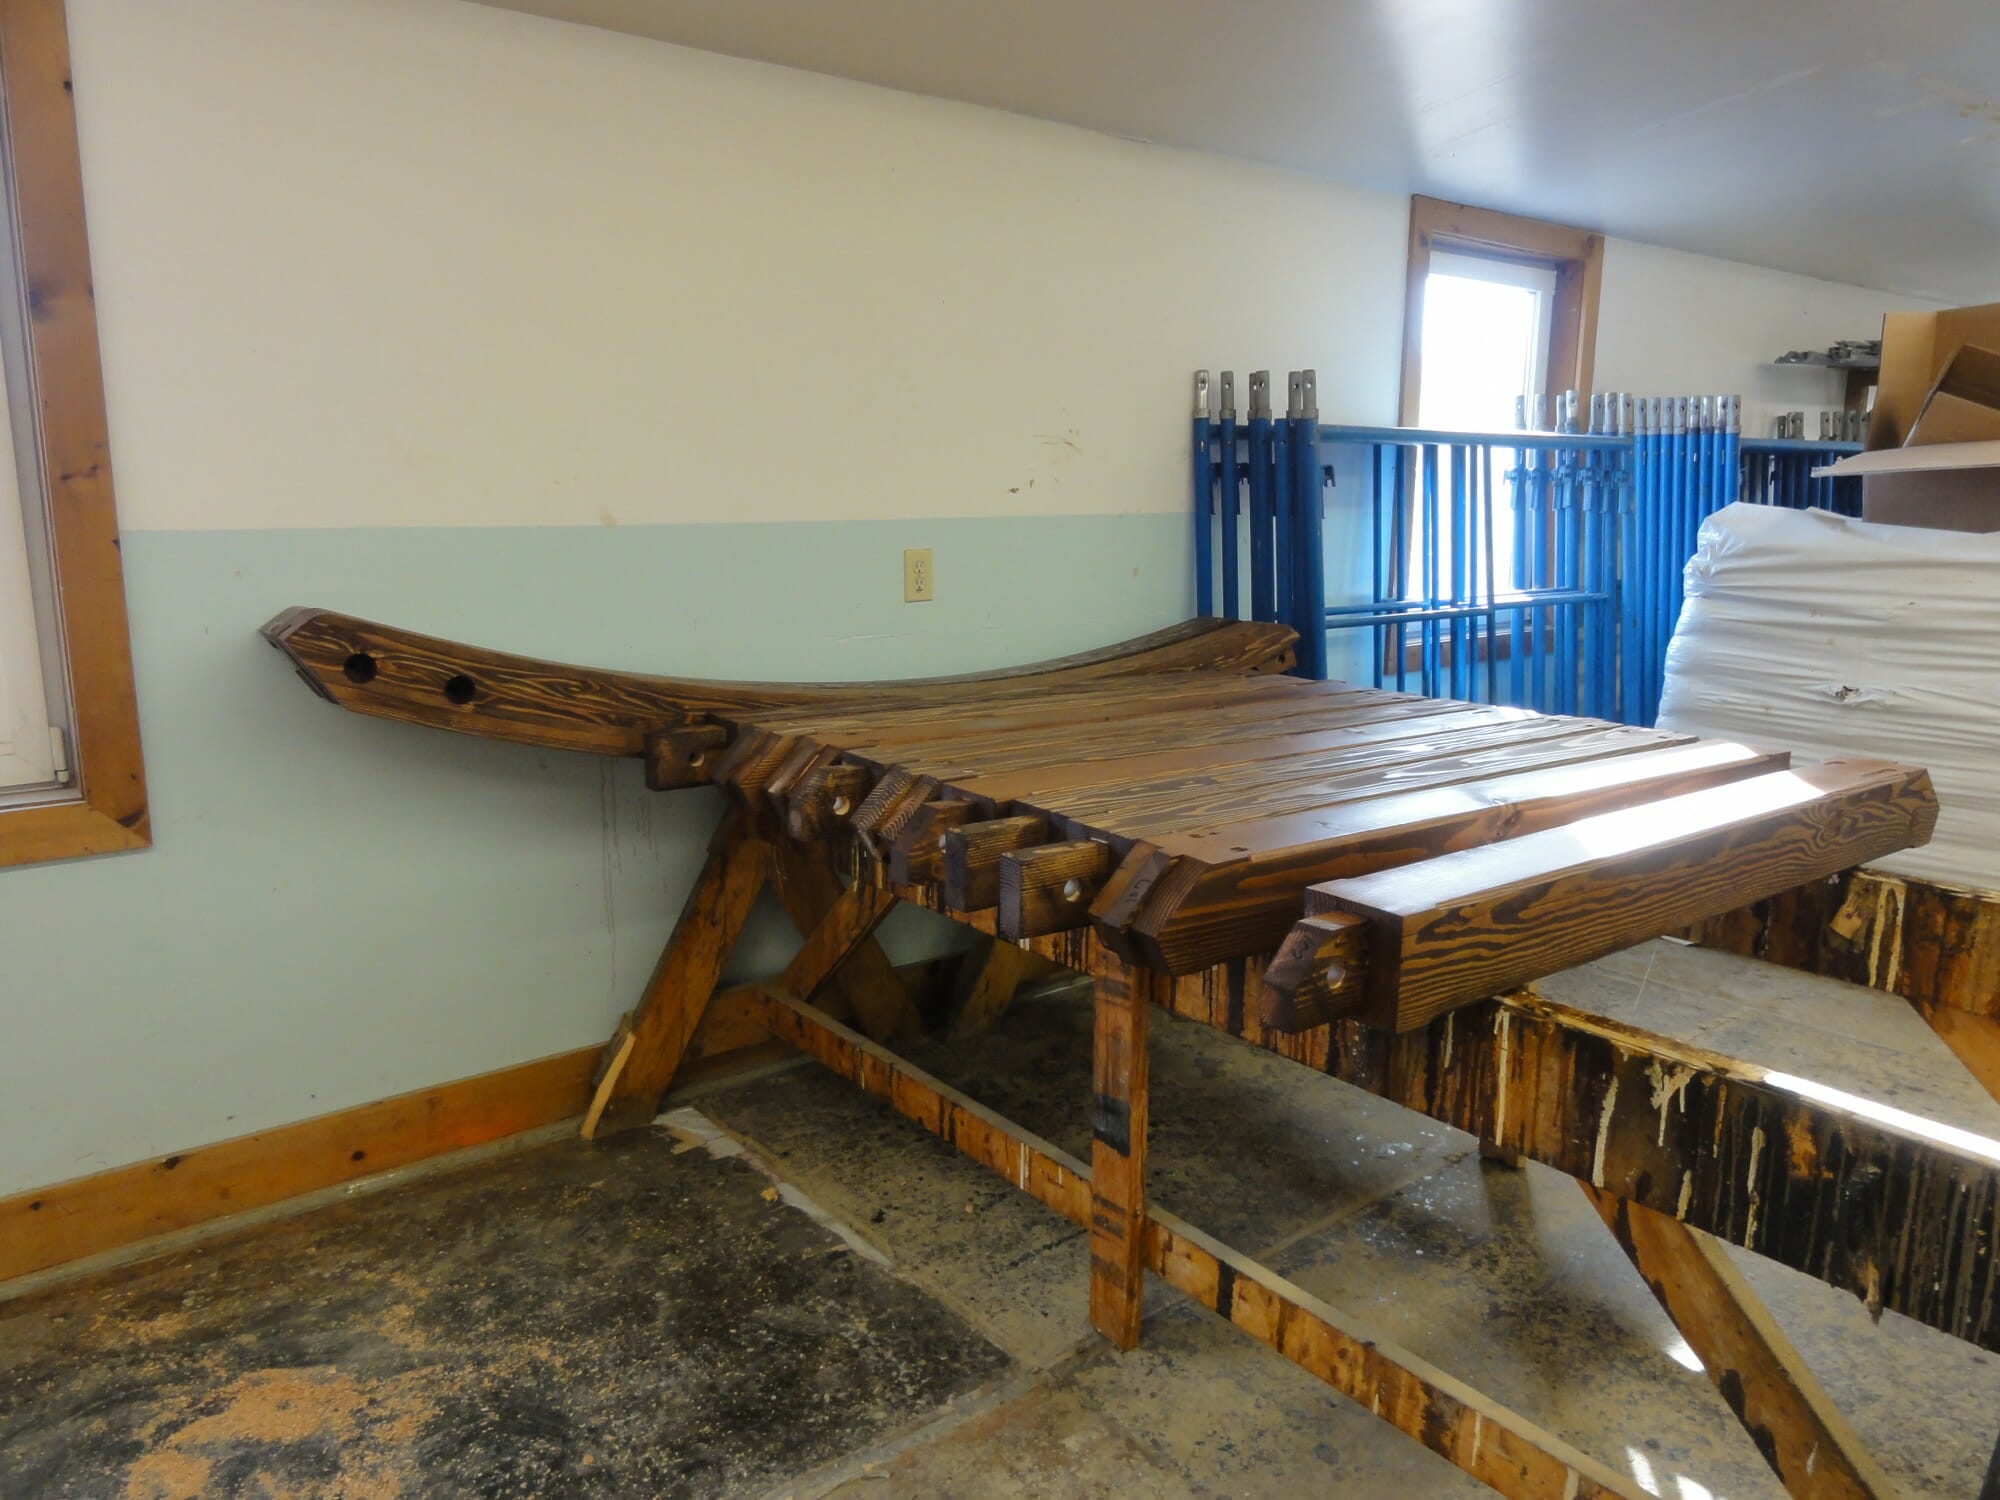
5.) The cut team does what they do best, let the fabrication begin:
When the timbers have been laid out, our master craftsmen and women start making all of the necessary cuts. Below Kellin is getting ready to make a mortise cut.
6.) Timbers go to finish land for sanding and staining:
7.) We are ready to ship and start the frame raising:
After the stain has set, we ship the timbers and our crew gets ready to hit the road. Our team arrives ready and raring to go, no time to waste, it;s time to put the frame up. Below is a shot of Tom moving the timbers inside with the Lull.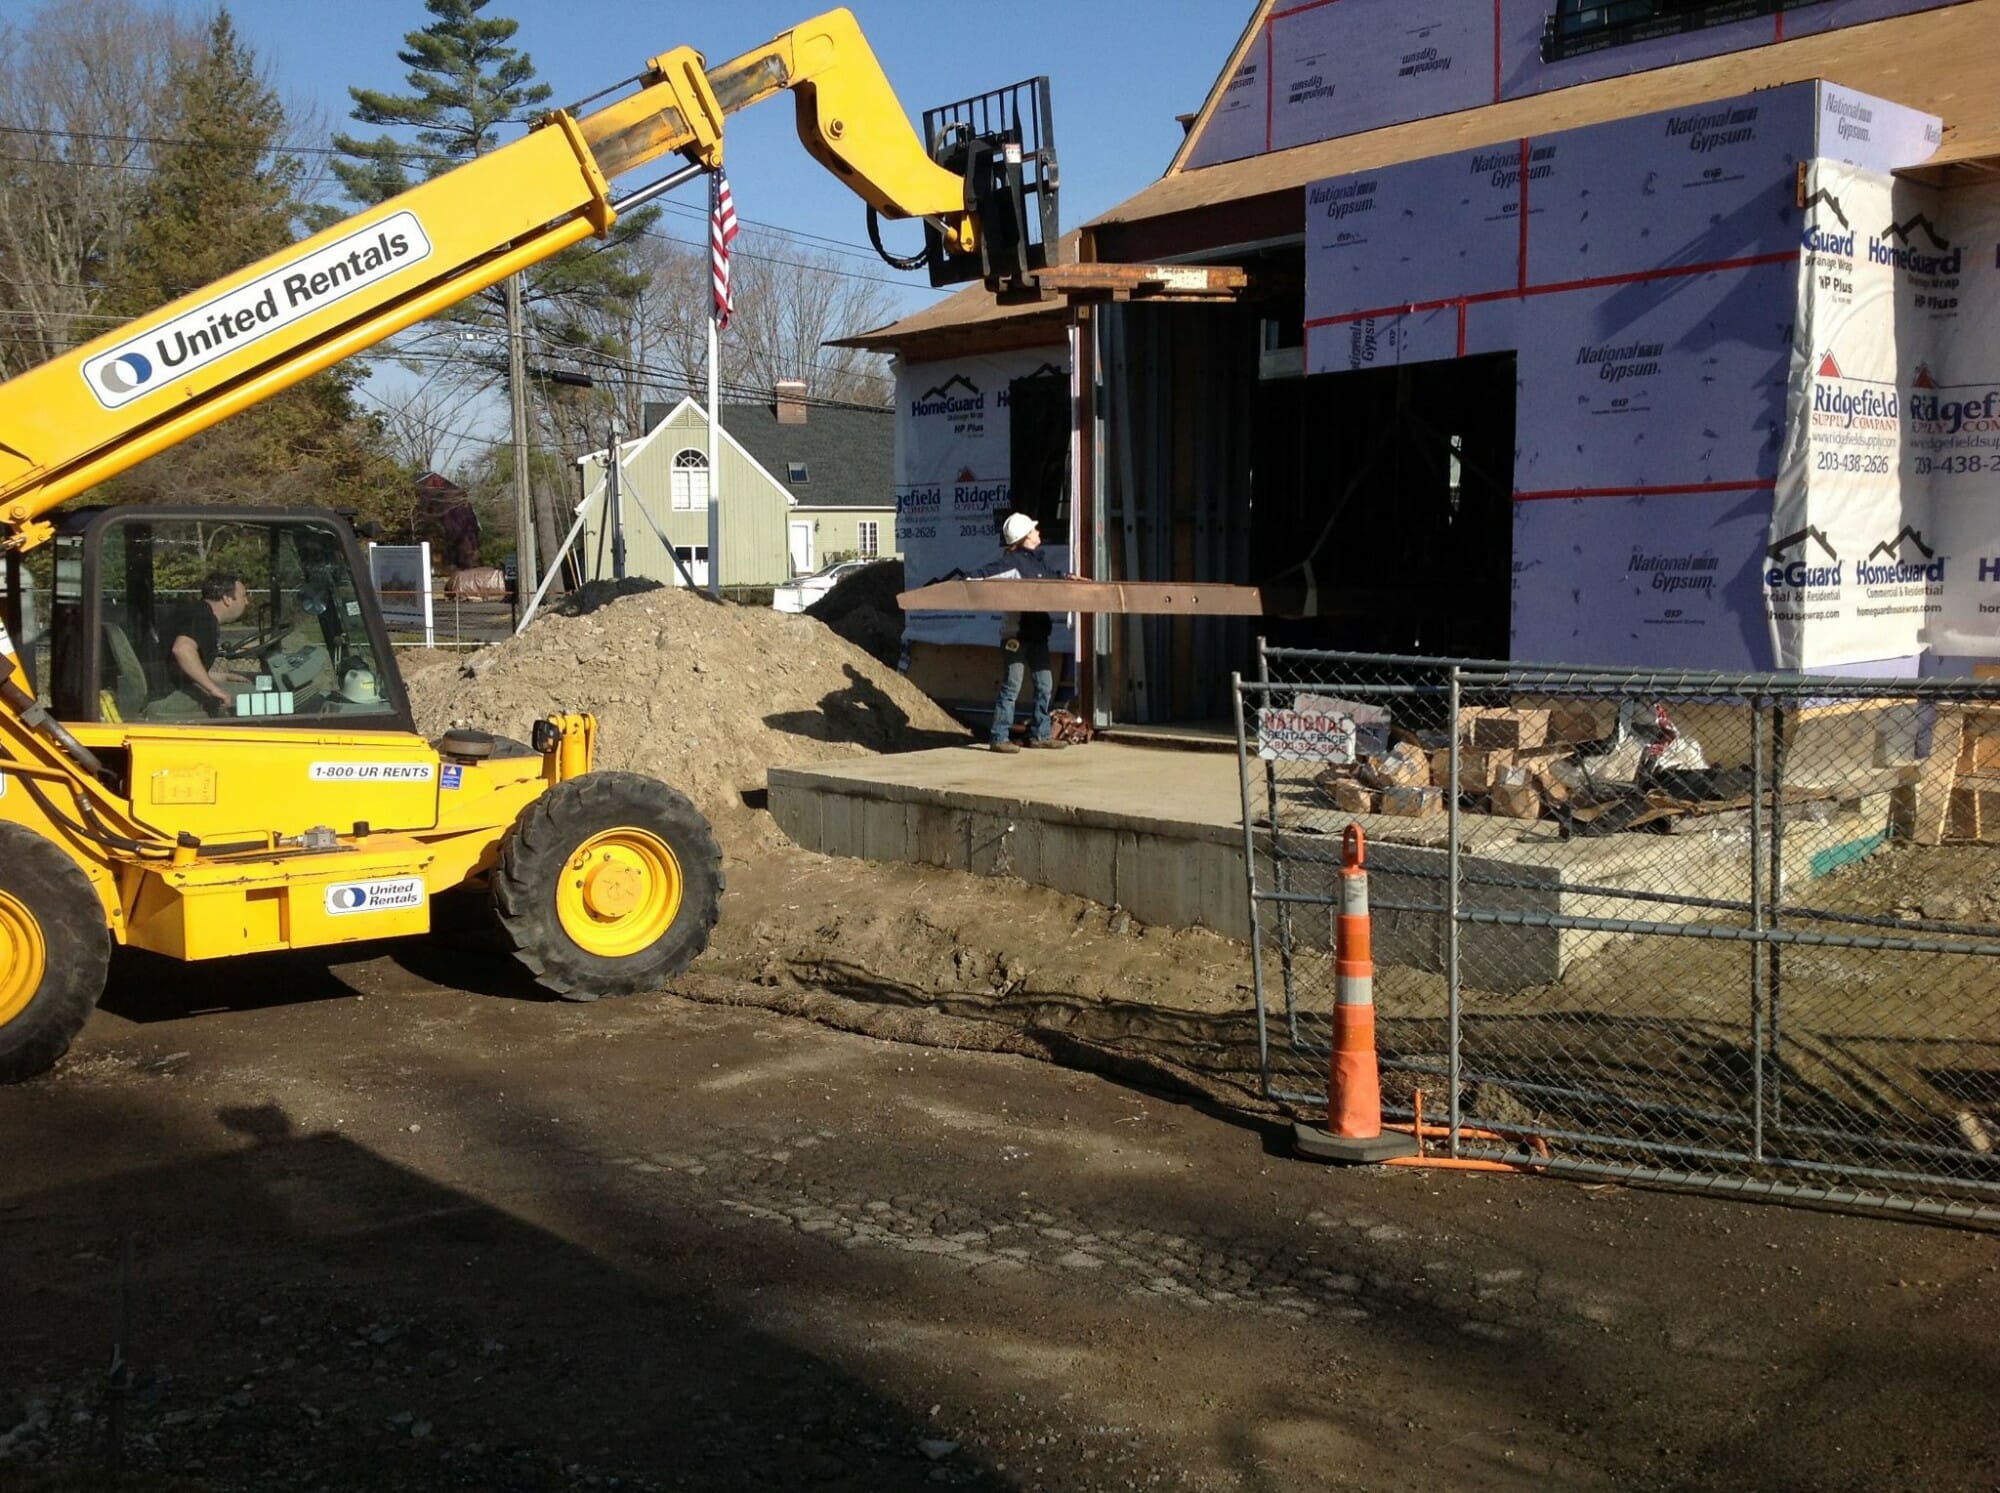
8.) The Frame is Raised:
Unfortunately on this particular project we don’t have any photos of the frame being raised, but below is a photo of the frame completed without any additional finishes, just the aluminum foil insulation.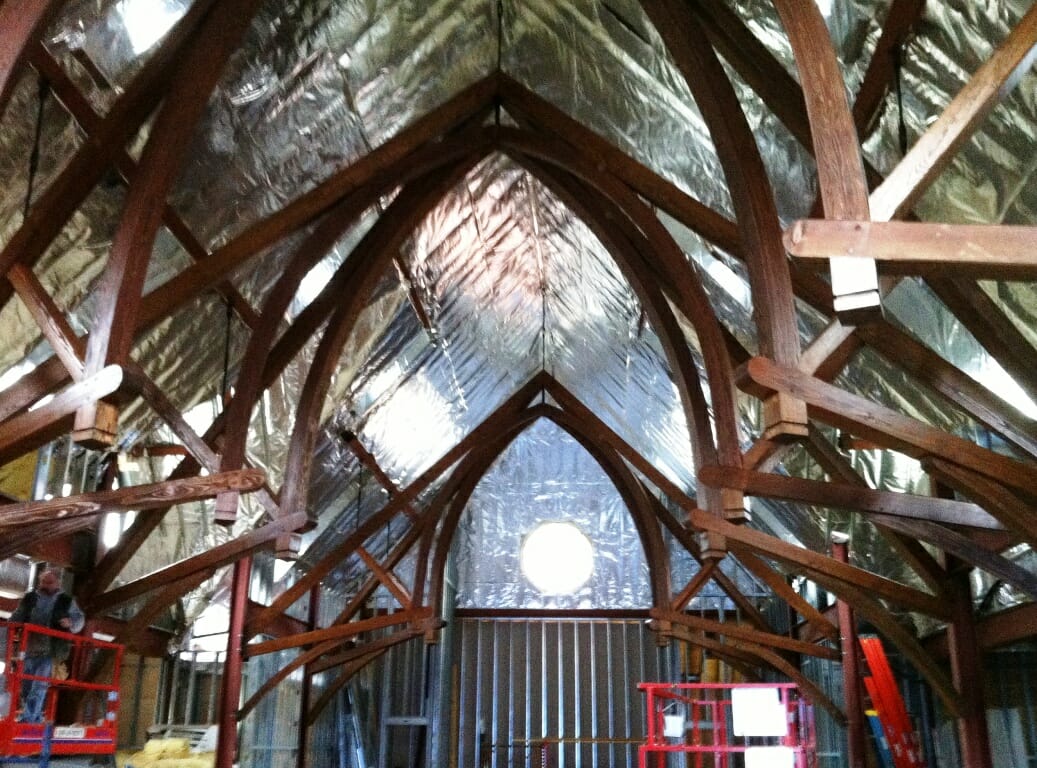 9.) The Project is Complete:All of the projects that we do have their own little twists and turns along the way, but still follow the basic course from concept to completion. Although each project and finished product is different, they all have one thing in common, they all look beautiful, and will continue to do so over many, many years to come.
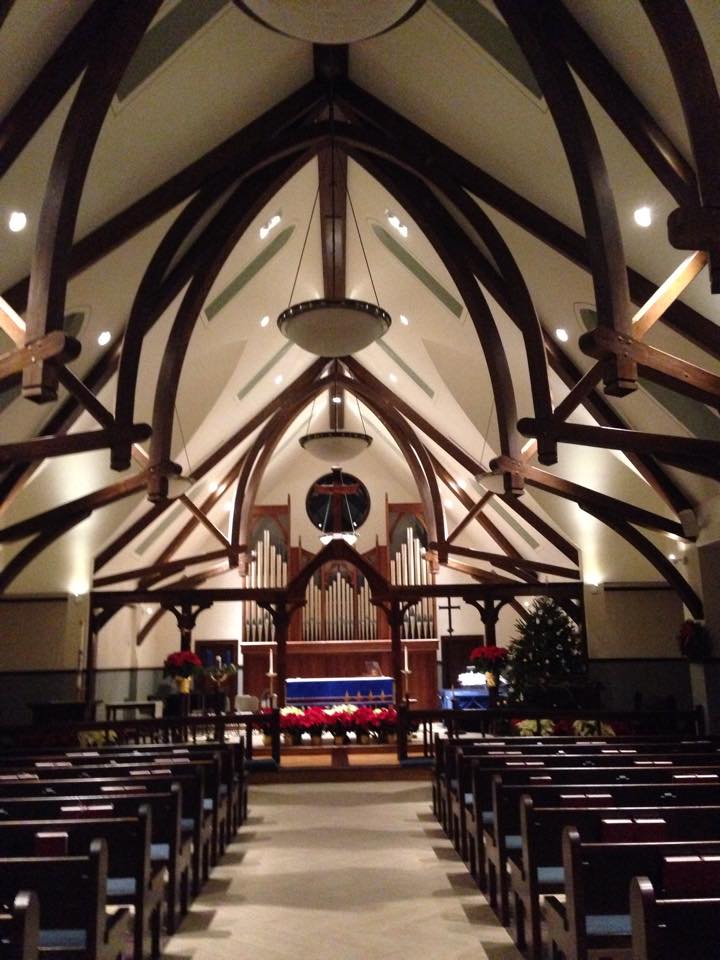
Thank you for stopping by our timber framers’ blog! If you like this post, or have any timber work questions, we invite you to get in contact, ask an expert, or share your thoughts in the comment section below!
Nice post Derek, well done. Installing the timber framing from below must have created it’s own challenges – that could be another whole post!